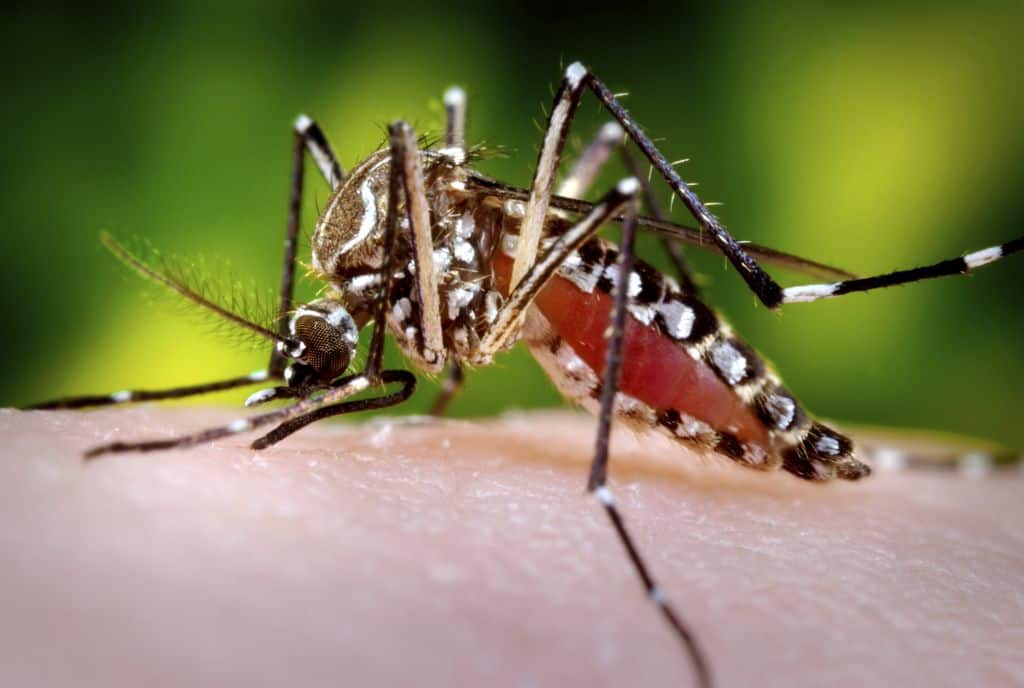
It’s rainy season again, and in Costa Rica that means mosquito season.
In an effort to keep the swarms at bay, I tried out dozens of do-it-yourself solutions found on the Internet so that you don’t have to. (You’re welcome.)
First I made mosquito traps made of plastic bottles filled with sugar/yeast: FAIL. Then I put orange peels inside of electric insect repellent plugs: FAIL. Next I planted basil and other anti-mosquito herbs in containers around the house. FAIL. And on and on. Nothing worked.
Finally I came across an idea for DIY wine bottle tiki torches and DIY wicks. That didn’t work either – but I was able to tweak the instructions until it did. The result is a beautiful recycled lamp that burns for hours and hours and hours and really keeps the biting bugs away.
Keep in mind that if you don’t drink (or don’t drink enough to accumulate large quantities of bottles), this can also be done with smaller glass containers – like mason jars or those fancy little glass jars of Sardinal tuna. Just be careful to make a clean, tight seal with the “X” on the lid that holds the wick and be prepared for a shorter burn.
Lastly, keep the oil at least a few inches from the top of the jar so the lamp doesn’t accidentally explode (if used for evil and not for good these – and any glass oil lamps – can double as what are known as “Molitov cocktails”).
Materials:
Empty Wine Bottle with a screw on cap (free — I recommend the Australian brand Hardee’s shiraz with a twist off top. Yum.)
Cotton Gauze ($1.50)
Citronella Torch Fuel ($14 at Automercado)
Funnel (optional)
Knife
Scissors
One: Prep the Bottle
- Take the sticker off the bottle (or don’t – the aesthetics of the bottle are up to you). Tough residue can be removed by applying alcohol and scrubbing with the scratchy side of a sponge.
- Unscrew the twist-cap and feel underneath it for the plastic or styrofoam circle insert (it’s important to remove this part so it doesn’t melt). Use your fingernail or the knife to fiddle with it until it slides off.
- Now make an “X” in the middle of the bottle cap with 3 small cuts. Very CAREFULLY take the knife and make one cut about ½ inch across the center of the bottle cap (Now you have half of your X). Then make a second cut half that size to make another leg, and third cut to make the last leg of the X (see diagram).
- Now you have four “hinges” that can be pushed out to let the wick slide through.
- Gently press the hinges closed again (with your fingernail or the knife) so the cap holds the wick tightly.
*TIP FOR THE ACCIDENT PRONE* To reduce the risk of cutting yourself, place the bottle cap top-side down on a piece of cardboard or surface that you don’t care about. Then put the knife inside the cap (cutting into the silver inside part first) and press into the cardboard.
Two: Make the wick
The only place I’ve ever seen wicks in Costa Rica is the DO-IT-CENTER. Unfortunately, el “DO-IT” is about an hour away from where I live, and that’s only if I had a car. Which I don’t. So I Googled how to make one and modified the instructions until it worked. God bless the Internet.
- Cut a length of the gauze about 6 inches long.
- Rip it into thirds (no need to use scissors, so long as you follow the vein of the weave it should rip clean and effortlessly from the top to the bottom.)
- Next, braid the three strands together tightly. I like to tie a tight knot at the very top of one end and hold it between my toes (or under something heavy) to keep it in place.
- Take your bottle cap and open the “doors” of the X outward by gently pushing on them with the knife (see #4 on the bottle cap diagram). Then press the doors back closed as much as they’ll go without torquing the metal.
Three: Fill it
Now it’s time to fill the bottle ⅓ oil and ⅔ water. (Or ½ and ½ if you want the torch to burn for several hours more).
Why add water? In order for the top of the wick to suck oil from the bottle, the oil needs to be very close to the flame. Since you don’t want to waste an entire bottle of torch fuel on just one lamp, you fill it with mostly water, then add oil (remembering to leave some airspace in the neck). Theoretically, this also makes the lamp self-extinguishing – if it gets knocked over, the water should spill onto the flame. (Test this theory at your own risk!)
Four: Screw it
Screw the cap onto the bottle (with the wick threaded through it), and in an outdoors place tip the bottle upside down to wet the wick all the way to the top.
Five: Light it
Light it up. Let it burn, let it burn, let it burn.
Extra credit:
Go to the hardware store and buy some galvanized wire 16 or 18 inches in thickness (cost is about $2 for a large roll) and wrap it around the bottle for decoration.


